Low Effort
Nail Art You Can Actually Do Yourself
Most nail art tutorials require a steady hand and four tools. These four designs need one brush and fifteen minutes.
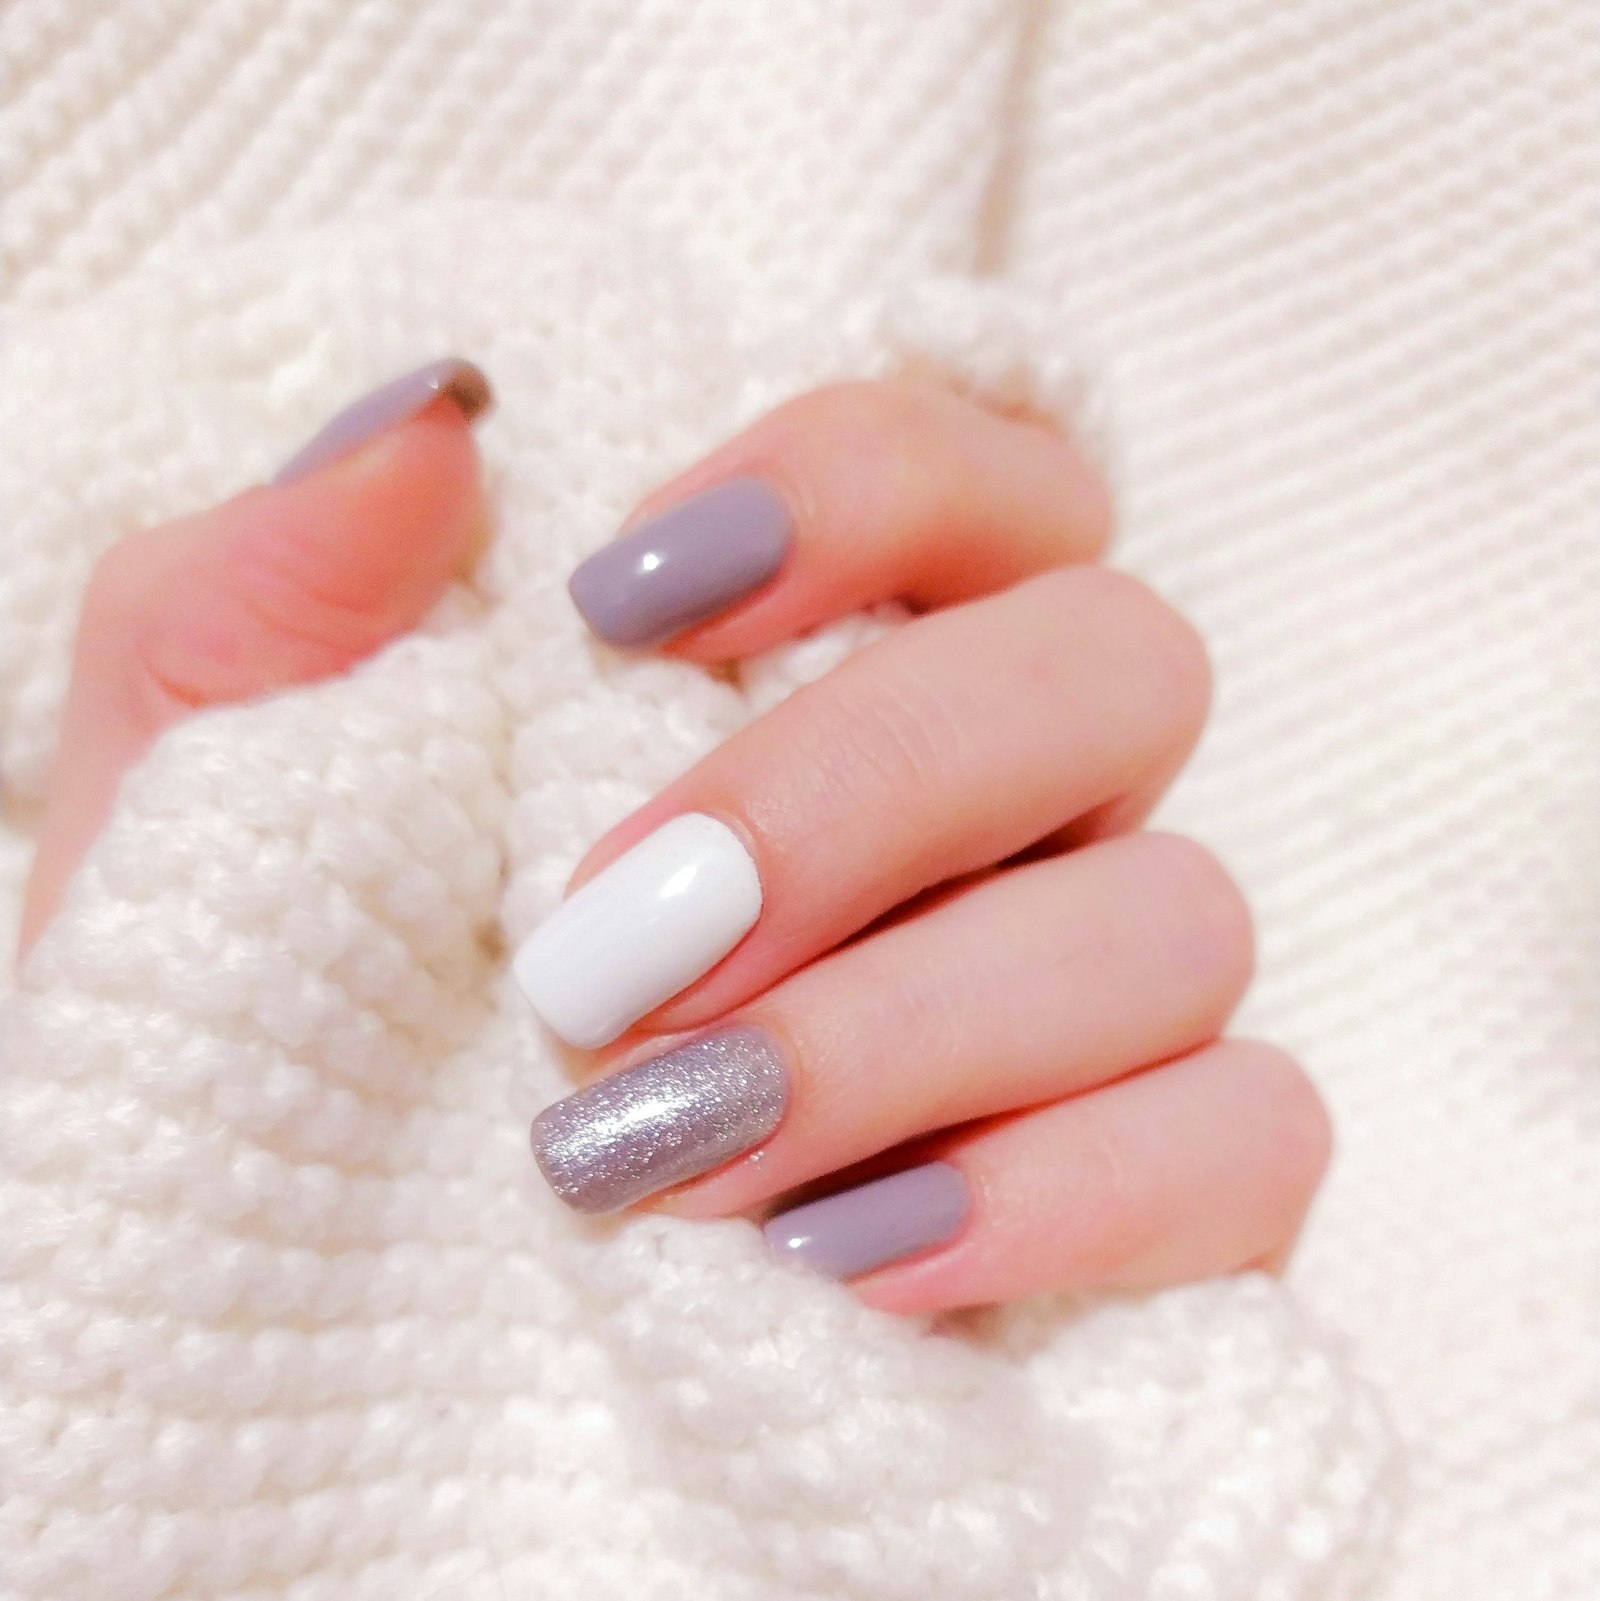
Nail art has a reputation for requiring skill. Most of it does. But four designs account for the majority of what people actually want, and none require more than a steady-ish hand.
Before you start
Base coat is non-negotiable — it protects the nail plate from pigment and improves adhesion.
Work on fully dry polish. Art applied to tacky polish smears; art applied to dry polish stays.
Have a clean-up brush (an angled brush dipped in remover) ready. Clean edges are most of the difference between “did it myself” and “looks professional”.
The four designs
1. The accent nail. Paint four nails one colour, the fifth a different one. Zero skill, immediate effect. Best with a neutral base and one metallic or dark accent.
2. The half-moon. Use a round sticker or a piece of tape across the base of the nail, paint the free part, remove the sticker while wet. Crisp lines, no brush control needed.
3. Dots. A dotting tool (or a bobby pin) dipped in polish, pressed gently. Cluster three near the cuticle or run a line down one side. Works best over a light base with a contrasting dark.
4. The thin stripe. A fine liner brush or a nail art pen, drawn from cuticle to tip slightly off-centre. One stroke, no correction. If you wobble, go over it thicker — asymmetry reads as intentional.
What makes them look good
Contrast. A dark accent on a light base, or a metallic on a matte.
Restraint. One accent nail, not five.
Clean edges. The single biggest factor. Take the extra minute.
A top coat over everything, including the art. It seals the design and levels the surface.
What to avoid as a beginner
- Freehand flowers
- Anything requiring both hands to be equally steady
- Chrome powders (they need a specific base and cure)
- Designs requiring detailed symmetry
These are achievable with practice, but not on the first attempt.
Making it last
Wrap the tip with top coat, as with any manicure. Art on the edge chips first.
Reapply top coat every two days.
Avoid hot water for the first hour.
Removal
Soak in acetone for 15 to 20 minutes, then push off gently. Never peel — art with a top coat peels in sheets and takes nail plate with it.
Bottom line
Base coat, one accent, clean edges, top coat. Four designs, fifteen minutes, and a result that reads as deliberate rather than attempted.
Links on this page go to retailer search results for fine liner brushes and dotting tools — both cost under $10.
Tested Glow may earn a commission from links on this page. No brand reviewed this article.
Frequently asked
Do I need special tools?
A fine liner brush and a dotting tool cover most simple designs. A bobby pin works as a dotting tool, and washi tape works as a guide.
Will nail art damage my nails?
No, but removal might. Peeling off polish removes nail plate layers. Soak instead.
How long does simple nail art take?
Fifteen to twenty minutes including dry time, once you have practiced twice.